How to Make a Jam Jar Aquarium with Kids
Finding projects with which to keep your kids busy can be tough, especially during school holidays. And, given how much time children have had at home this year. Parents may be desperate for new ways to keep their little ones happy and stimulated in the weeks and months ahead.
With the October half-term just days away, we’re coming to your rescue with this engaging craft project. Hopefully, it will provide a welcome distraction for your youngsters. Perfect for those with a passion for fish, nature and marine life, our DIY jam jar aquarium craft project is a fun and creative way to keep young hands busy over the school holidays.
Making these colourful mason jar aquariums is easy, even the youngest members of your household can get involved. You don’t need any specialist tools or equipment to put them to work. There’s also the option to make two or more makeshift aquariums. Giving your fish-mad youngsters something to decorate their rooms with.
So, without further ado, here’s how to make a jam jar aquarium with your kids.
What Your Jam Jar Aquarium will Need
First things first, here’s a list of everything you need to start making jam jar aquariums. Remember, this is just a rough guide so you can get the basic look and structure. So, feel free to add or remove elements you can’t get your hands on.
Mason jars
The bigger, the better! It goes without saying, they need to be clear glass. And, we think the screw-top (rather than clip-top) versions work better and are safer for little fingers.
Filtered or distilled water
You can use tap water, but it may look a little cloudier. For the best results, use filtered or distilled water.
Blue food colouring
A couple of drops should be enough to turn the water a nice realistic blue – perfect for your tropical aquarium.
Plastic fish toys and figures
This is where you can get creative! Whether you opt for sharks, turtles, octopus or reef fish. There are limitless toys your child can choose to fill their aquarium. We recommend looking through toy boxes and toy sets for anything you might have that would suit the aquatic scene. This is a great way to re-use old unloved toys, plus it can save on plastics!
Plastic plants and aquarium décor
If you want your aquarium to look the business, we’d recommend heading to your local pet shop for some aquarium décor. Plants and aquarium rocks will help create an authentic-looking aquarium in even the smallest mason jars.
Gravel, stones and sand
If you’re not looking to spend a lot, using gravel, sand and stones as a seafloor is an affordable way to fill up your jam jar aquarium.
Glitter
Optional, but glitter can help give your mason jar aquarium a shimmery, shiny look. Just like seawater, glistening in the sunshine.
Glycerol
Adding glycerol to your mason jar aquarium is optional. However, doing so will allow you to more easily ‘suspend’ fish in the water, making it look like they’re swimming.
Making your Jam Jar Aquarium
OK, now it’s time for the fun part: assembling your aquarium. Kids can get involved in almost every step of the process here. So, unleash their creativity while being on hand to offer help should they need it.
Step 1
Start by adding the ‘seafloor’ of your aquarium, i.e. gravel, sand, stones and aquarium rocks, to the base of the mason jar. Make sure it’s level enough to seat other bits and pieces on while looking natural like the seafloor.
Step 2
Next, add your plants and aquarium décor – whether that’s reeds, reefs or treasure chests. Distribute these elements as naturally as possible, creating an attractive habitat for your fish and marine animals.
Step 3
Now it’s time to colour your water. Add a couple of drops of food colouring to achieve a realistic blue colour. Then, carefully pour it into the jar. Go slow here – you could upset your meticulously put-together seafloor if you pour too fast!
Step 4
If you’re going with glycerol, now’s the time to add it. You only need a couple of drops to change the viscosity of the water. This will allow you to suspend your fish. This is definitely a step for adults.
Step 5
Once you’ve added the glycerol, you can add any other last-minute bits and pieces, optionally including glitter. You don’t want the jar to be too full before you start adding the toy fish. So carefully pour away any excess to ensure there’s plenty of room.
Step 6
The finishing touch is adding the fish. Depending on the weight, some will float while others won’t, so add them carefully to achieve realistic results. Go for a bright range of different colours, and let those little hands tweak away to their heart’s content.
Step 7
Happy with your creation? All that’s left to do is screw the lid on and admire your handiwork. If you want your fish to swim, give the jar a gentle swirl and watch those creatures paddle.
We hope you’ve enjoyed this guide on how to make a jam jar aquarium. It’s a great, inexpensive project to try with your young nature lovers, and should keep them entertained for hours.
Whether they’re not old enough to take care of their own fish. Or, you have a curious cat you’re worried may disturb the tank. Our DIY jam jar aquarium is the ideal half-term activity for your fish-mad little ones.
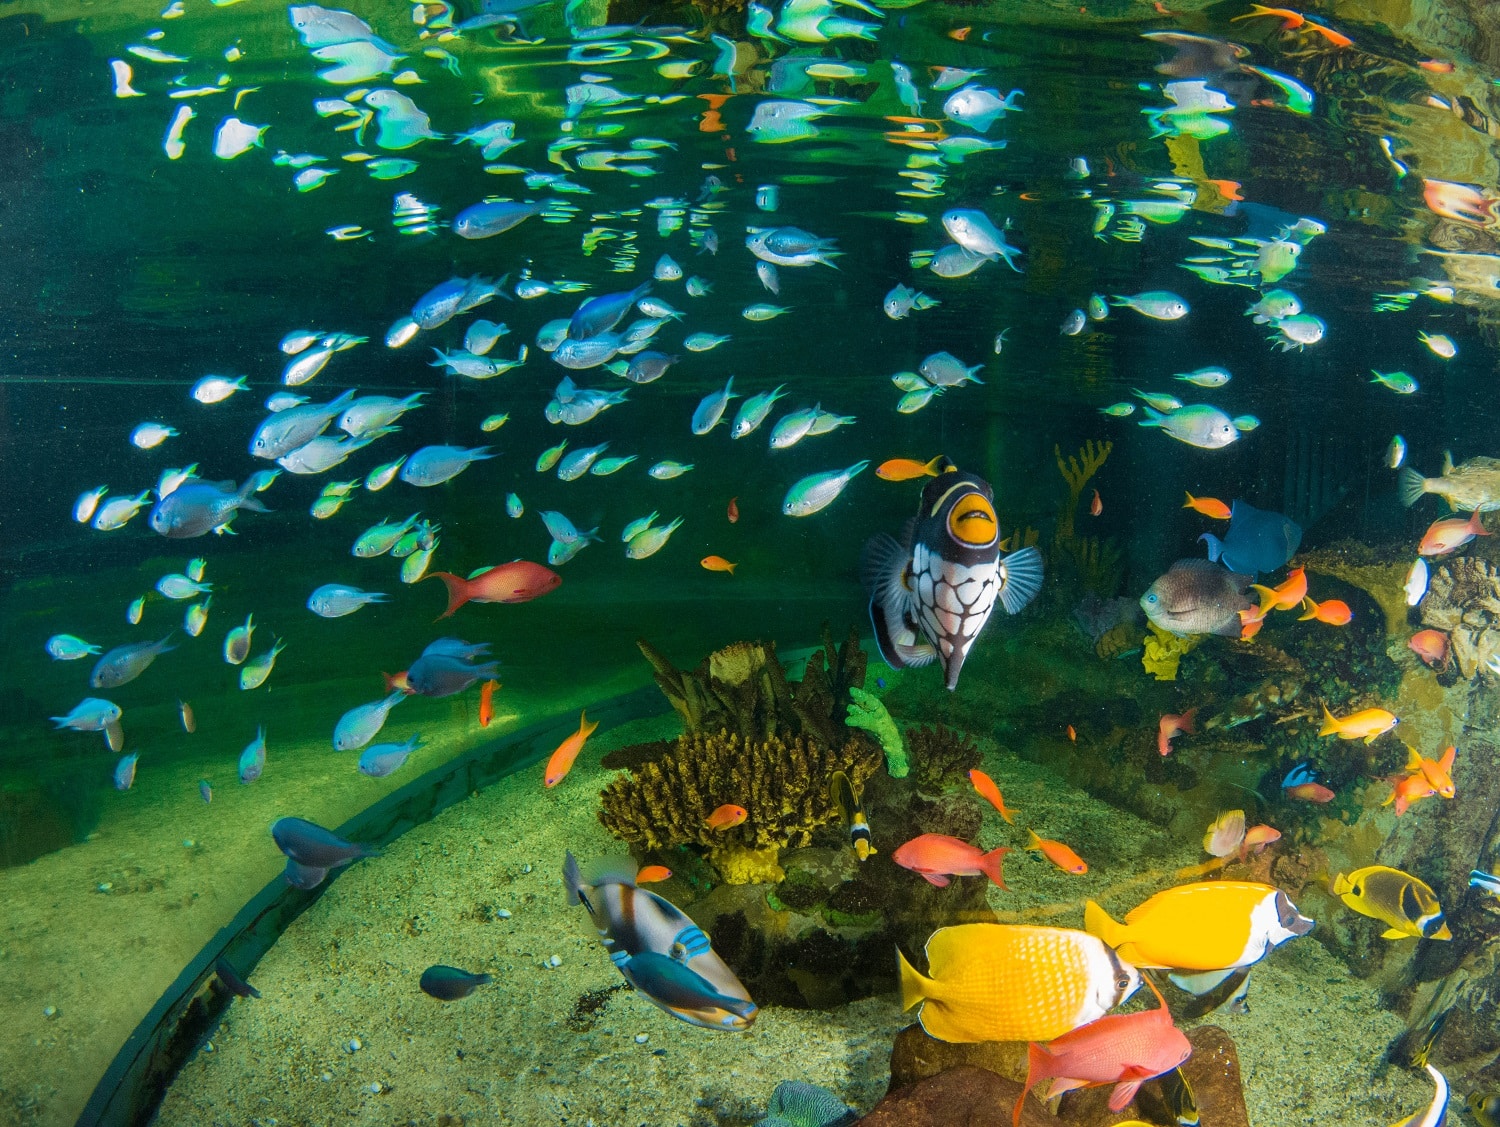
Prefer to see the real deal? Blue Planet Aquarium is open and ready to welcome you and your family this half term. For more information or to purchase your tickets online, visit the homepage or call us on 0151 357 8804.


